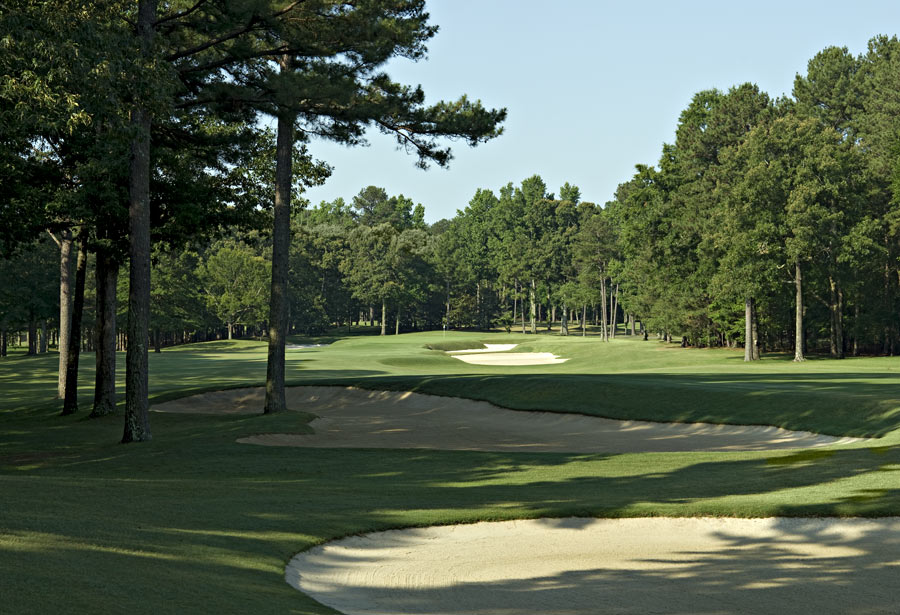
| Hole: 3 “Big Z” |
|
| Tees |
|
Yardage |
Par |
H/C |
| Two Star |
|
485
|
5
|
11
|
|
| One Star |
|
440
|
5
|
3
|
|
| Three Star |
|
500
|
5
|
11
|
|
| Four Star |
|
510
|
5
|
11
|
|
| Five Star |
|
530
|
5
|
11
|
|
| Chairman |
|
510
|
5
|
11
|
|
|
| Scorecard |
|
|
|
| How to Play It: |
| The par 5 third hole is relatively straight away to the eye, although it is played in a “Z” because strategically placed bunkers. This hole will yield a lot of birdies, but they will have to be earned. |
|
|
|
|